When creating a new account with MetaLocator, the options can be overwhelming. Here are a few tips to make your store locator easy to use and visually appealing.
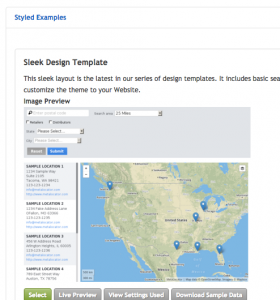
- Select a Style Template. When going through the steps of our onboarding wizard, the system will prompt you to create an interface. We highly recommend that you choose one of our refined style templates as shown here:
- Limit the number of results displayed at one time: A common mistake is to try and show the user every location in your account at once. While this may look impressive, we find that it is more effective when you Auto-find the user’s location, and display a handful of the nearest results. To do this, Enable “AutoFind” under your Interface’s GeoLocation settings. Next limit the number of search results under Data Settings > “Maximum number of Results Per Page of Search Result“. We recommend reducing that to 5 or 10. If your locations are far apart, increase the “AutoFind” radius to a value greater than the greatest distance between any of your locations.
- Customize the colors and icons: Match your locator design with your Website by choosing an appropriate marker icon and colors. Read more about selecting map colors and icons here.
- Double check your data quality: Visit the Data Quality Dashboard, found under Analytics. This set of charts and statistics will highlight issues with data consistency and accuracy.
- Ensure SEO Landing Pages are set up: Under SEO Landing Pages, ensure you have chosen a hostname, and have generated your Location Landing Pages. Once generated, your pages will be at yourhostname.locationlandingpages.com. Linking from your Website to that page will help Google index and find your location pages.
These five items are critical to a proper locator setup. Of course, if you have further questions, be sure to contact support.